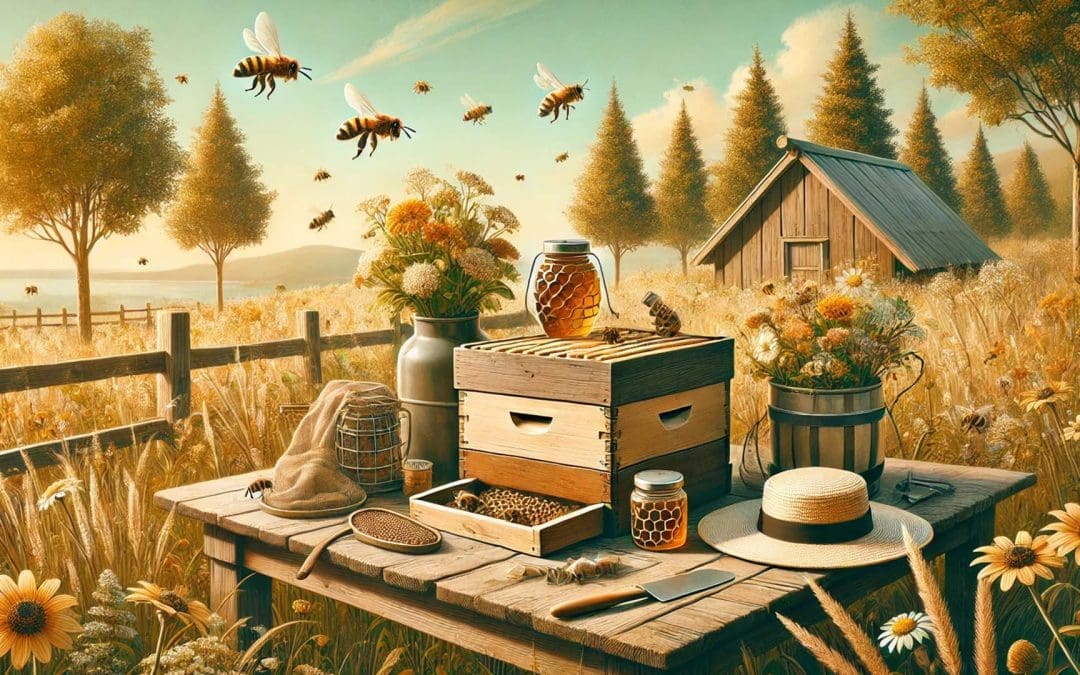
If you’ve ever dreamed of producing your own golden, delicious honey while helping your garden thrive, beekeeping might be the perfect addition to your off-grid homestead. Honeybees are nature’s most efficient pollinators, and keeping a hive means sweet rewards, natural wax for DIY projects, and an ecosystem boost for your plants.
Starting your first hive can seem intimidating, but don’t worry—this beginner’s guide will walk you through the basics of off-grid beekeeping, step by step.
Why Keep Bees on an Off-Grid Homestead?
Bees are more than just honey producers; they’re crucial for maintaining a sustainable and thriving off-grid life. Here’s why:
- Pollination Power: Bees increase crop yields by pollinating flowers, vegetables, and fruit trees on your homestead.
- Honey Production: Raw honey is packed with nutrients, and it’s a versatile food for cooking, natural remedies, and preserving.
- Beeswax Benefits: Beeswax can be used to make candles, balms, soaps, and natural food wraps—perfect for DIY off-grid projects.
- Self-Sufficiency: Producing your own honey and wax reduces reliance on store-bought products.
Step 1: Research Local Beekeeping Laws and Conditions
Before you start, check your local laws to ensure beekeeping is permitted in your area. Certain regions may have restrictions on hive placement or require registration of beekeeping activities.
Additionally, learn about your area’s climate and natural forage availability. Bees thrive when they have access to diverse nectar and pollen sources—wildflowers, fruit trees, and flowering plants are all beneficial.
Step 2: Choose the Right Beekeeping Equipment
You don’t need a massive budget to get started with bees. Here’s a basic list of tools and equipment:
- Bee Hive: Choose a beginner-friendly hive style. The Langstroth hive is the most common, while Top Bar hives are simpler and often preferred for off-grid beekeepers.
- Protective Gear: A beekeeper suit, gloves, and a hat with a veil to protect yourself.
- Smoker: Calms the bees and makes inspections easier.
- Hive Tool: A must-have for separating frames and prying open the hive.
- Frames and Foundation: Wooden or plastic frames for bees to build their comb.
- Bees: Yes, you’ll need bees! You can order a nucleus colony (nuc) or a bee package from local suppliers.
Pro Tip: Start with just one or two hives. Beekeeping is a learning process, and managing a smaller number allows you to gain confidence.
Step 3: Pick the Perfect Location for Your Hive
Location is everything when it comes to happy, healthy bees. Follow these guidelines:
- Sunlight: Place your hive where it gets morning sunlight to warm the bees early in the day.
- Wind Protection: Shelter your hive from strong winds with natural barriers like trees or shrubs.
- Water Source: Bees need water to regulate hive temperature. Set up a shallow water source nearby (add stones for landing spots).
- Safe Distance: Keep hives away from high-traffic areas to avoid disturbing the bees.
Step 4: Introduce Your Bees to Their New Home
When your bees arrive, it’s time to get them settled:
- Prepare the Hive: Place frames inside and ensure the hive is clean and sturdy.
- Install the Bees: If using a bee package, gently shake the bees into the hive and place the queen cage inside. For a nuc, transfer frames with care.
- Feed Your Bees: Provide sugar water (1:1 ratio of sugar to water) for the first few weeks to help them establish the hive.
Be patient—bees need time to adjust to their new environment.
Step 5: Regular Hive Inspections
Inspecting your hive regularly ensures your colony stays healthy and productive. Aim to check your hive every 7–10 days during the active season.
Here’s what to look for during inspections:
- Eggs and Larvae: Signs that the queen is laying and the colony is thriving.
- Honey and Pollen Stores: Ensure bees have enough food.
- Pests or Disease: Look out for varroa mites, wax moths, or foulbrood. Treat problems quickly to protect your hive.
Step 6: Harvesting Honey—The Sweet Reward
After a few months, your hive will produce surplus honey. Follow these steps to harvest:
- Check for Capped Honey: Harvest only when honeycomb cells are capped with wax, indicating ripeness.
- Use a Bee Brush: Gently remove bees from the frames.
- Extract the Honey: Use a manual or electric extractor to spin out the honey.
- Strain and Store: Filter honey to remove bits of wax and store it in clean, airtight jars.
Bonus Tip: Leave enough honey for your bees to survive the winter—after all, they worked hard for it!
Common Challenges for Beginner Beekeepers
Beekeeping has its challenges, but don’t be discouraged. Here are a few common issues and solutions:
- Aggressive Bees: Bees can get defensive. Stay calm, use smoke, and avoid strong scents.
- Swarming: Prevent overcrowding by providing extra hive boxes.
- Pests: Monitor regularly and use natural methods like screened bottom boards to reduce pests like varroa mites.
Final Thoughts: Your First Step to Beekeeping Bliss
Starting a beehive off the grid is a rewarding step toward self-sufficiency. Not only will you enjoy fresh, golden honey, but you’ll also be supporting your garden and local ecosystem. Remember, beekeeping takes patience, observation, and care—but the sweet rewards are well worth the effort.
FAQs
How do I start beekeeping as a beginner?
What is the best type of hive for beginners?
The Langstroth hive is the most popular for beginners due to its easy-to-manage frame system and standard design. Alternatively, a Top Bar hive is simpler, more natural for the bees, and often preferred for off-grid homesteads.

